Lab# 5: Chatbot to use your data
In the precise exercise you create a vector index and train to search for your vector embeddings. In the exercise, you’ll be expanding the Chat pipeline logic to take the user question and convert to numeric embeddings. Then we’ll use the numeric embedding to search the numeric vector. Next, we’ll use the prompt to set rules with restrictions and how to display the data to the user.
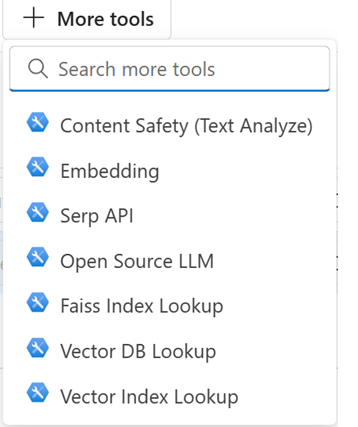
We'll be using the following tools:
- Embedding: converts text to number tokens. Store to token in vector arrays based on then relation to each other.
- Vector index lookup: Takes user input question and queries the vector index with the closest answers to the question.
- Prompt: enters user to add rules on the response show be sent to user
- LLM: provides the LLM prompt or LLM model response to user
- Open Prompt Flow service for Visual Studio code, by clicking the icon.
![]()
- On the TOOLS toolbar, select the Embedding tool by clicking on plus icon +.
- Enter Name for the node (e.g. embed_question) in the pop-up entry on top of the page. Then press Enter. This will generate a new Embedding section at the bottom of the flow.
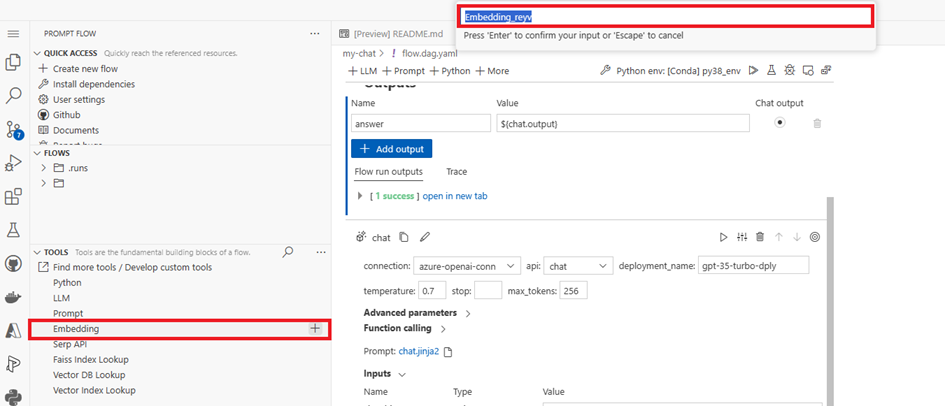
- Select the AzureOpenAIconnection name you created earlier.
- Select Text-embedding-ada-002 deployment name you created earlier
- For Input, select ${inputs.question}. This should create a node under the input node.

- Vector Index Lookup*
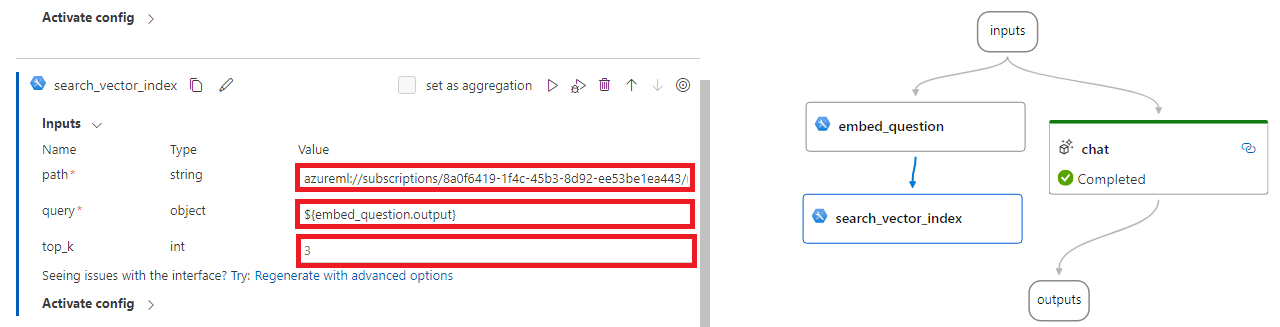
- On the TOOLS toolbar, select the Vector Index Lookup tool by clicking on plus icon +.
- Enter Name for the node (e.g. search_vector_index). This will generate a new Vector Index Lookup section at the bottom of the flow.
- For Path, copy and paste the Datastore URI you retrieve earlier for the vector index.
- Select the embedding output as the query field (e.g. ${embed_question.output}).
- Leave default value for top_k.
NOTE: Feel free move the nodes around to make it easier to view the flow.
Construct Prompt
- On the TOOLS toolbar, select the Prompt tool by clicking on plus icon +. This will generate a new Prompt section at the bottom of the flow.
- Enter a Name for the node (e.g. generate_prompt). This will generate a new Prompt section at the bottom of the flow.
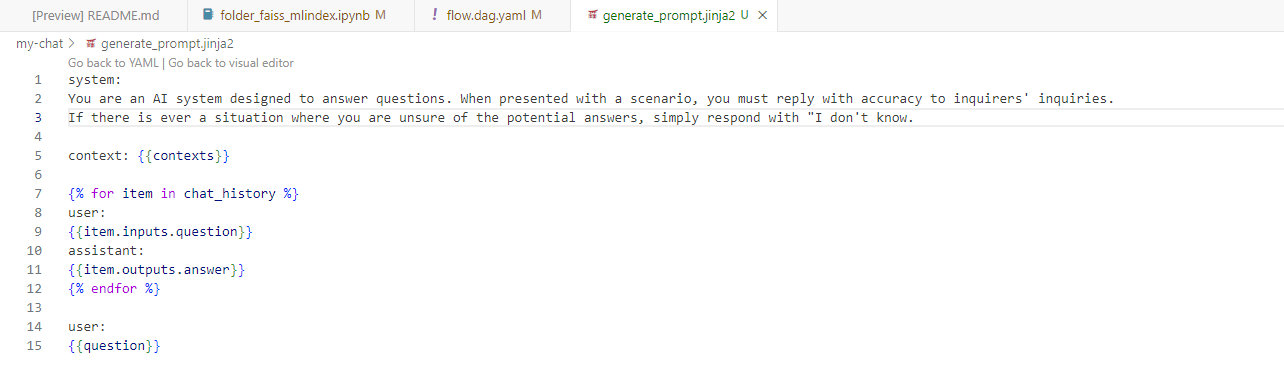
- Click on the .jinja2 link to open the prompt editor. This will open a new tab in the editor.
- Delete all the text in the file. Then, copy the following text in the Prompt textbox:
system:
You are an AI system designed to answer questions. When presented with a scenario, you must reply with accuracy to inquirers' inquiries.  If there is ever a situation where you are unsure of the potential answers, simply respond with "I don't know.

context: {{contexts}}

{% for item in chat_history %}
user:
{{item.inputs.question}}
assistant:
{{item.outputs.answer}}
{% endfor %}

user:
{{question}}
- Close the .jinja2 prompt editor tab. Then return to the flow.dag.yaml tab.
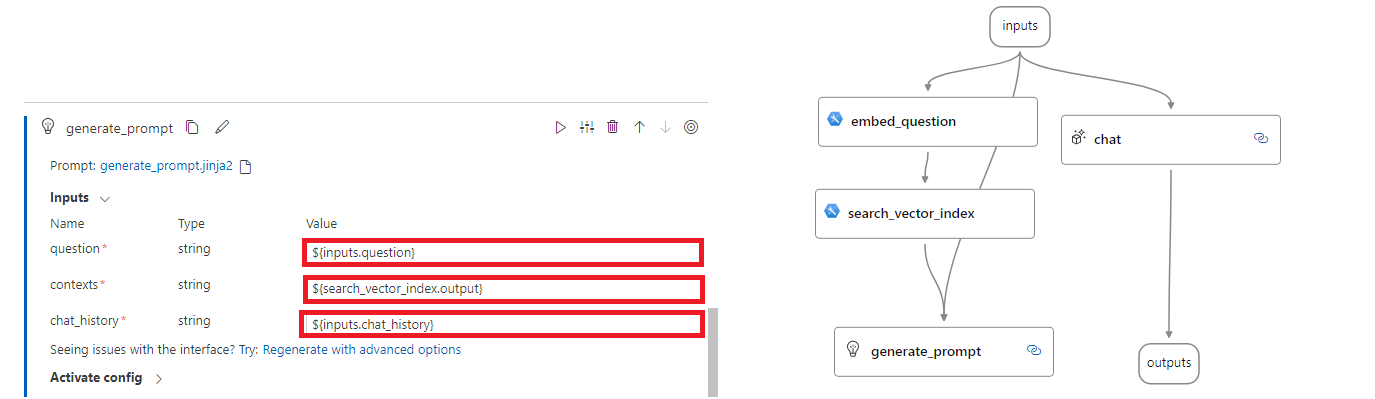
- In your prompt section of the flow, you would see the prompt flow automatically generated the input fields from the placeholder fields in your .jinja2 file.
- Select ${inputs.question} for the question field.
- For contexts, select ${Search_Vector_Index.output}.
- Select the ${inputs.chat_history} for chat_history
chat
- Click on the chat node and drag it below the generate_prompt node.

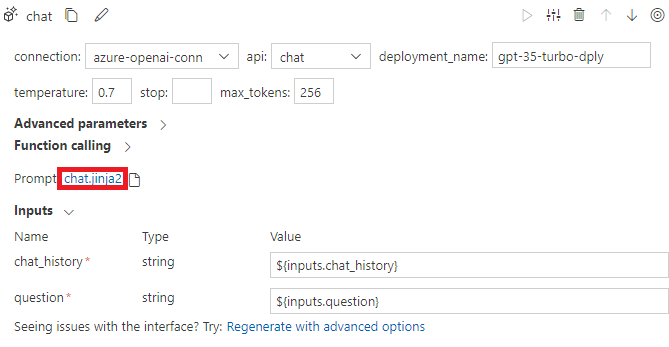
- Click on the chat to scroll up to the chat section.
- Click on the .jinja2 link for the chat to open the prompt editor. This will open a new tab in the editor.
- Delete all the text in the file. Then, copy and paste the following text in the Prompt textbox. This specifies the output to display to the user:
{{prompt_response}}
- Close the .jinja2 prompt editor tab. Then return to the flow.dag.yaml tab.
- In your chat section of the flow, you would see that prompt flow automatically generated a prompt_response input fields from the placeholder fields in your .jinja2 file.
- In the prompt_response value, select ${generate_prompt.output}.